Getting started with Katib
This page gets you started with Katib. Follow this guide to perform any additional setup you may need, depending on your environment, and to run a few examples using the command line and the Katib user interface (UI).
For an overview of the concepts around Katib and hyperparameter tuning, read the introduction to Katib.
Katib setup
This section describes some configurations that you may need to add to your Kubernetes cluster, depending on the way you’re using Kubeflow and Katib.
Installing Katib
You can skip this step if you have already installed Kubeflow. Your Kubeflow deployment includes Katib.
To install Katib as part of Kubeflow, follow the Kubeflow installation guide.
If you want to install Katib separately from Kubeflow, or to get a later version of Katib, run the following commands to install Katib directly from its repository on GitHub and deploy Katib to your cluster:
git clone https://github.com/kubeflow/katib
bash ./katib/scripts/v1alpha3/deploy.sh
Setting up persistent volumes
If you used above script to deploy Katib, you can skip this step. This script deploys PVC and PV on your cluster.
You can skip this step if you’re using Kubeflow on Google Kubernetes Engine (GKE) or if your Kubernetes cluster includes a StorageClass for dynamic volume provisioning. For more information, see the Kubernetes documentation on dynamic provisioning and persistent volumes.
If you’re using Katib outside GKE and your cluster doesn’t include a StorageClass for dynamic volume provisioning, you must create a persistent volume (PV) to bind to the persistent volume claim (PVC) required by Katib.
After deploying Katib to your cluster, run the following command to create the PV:
kubectl apply -f https://raw.githubusercontent.com/kubeflow/katib/master/manifests/v1alpha3/pv/pv.yaml
The above kubectl apply command uses a YAML file
(pv.yaml)
that defines the properties of the PV.
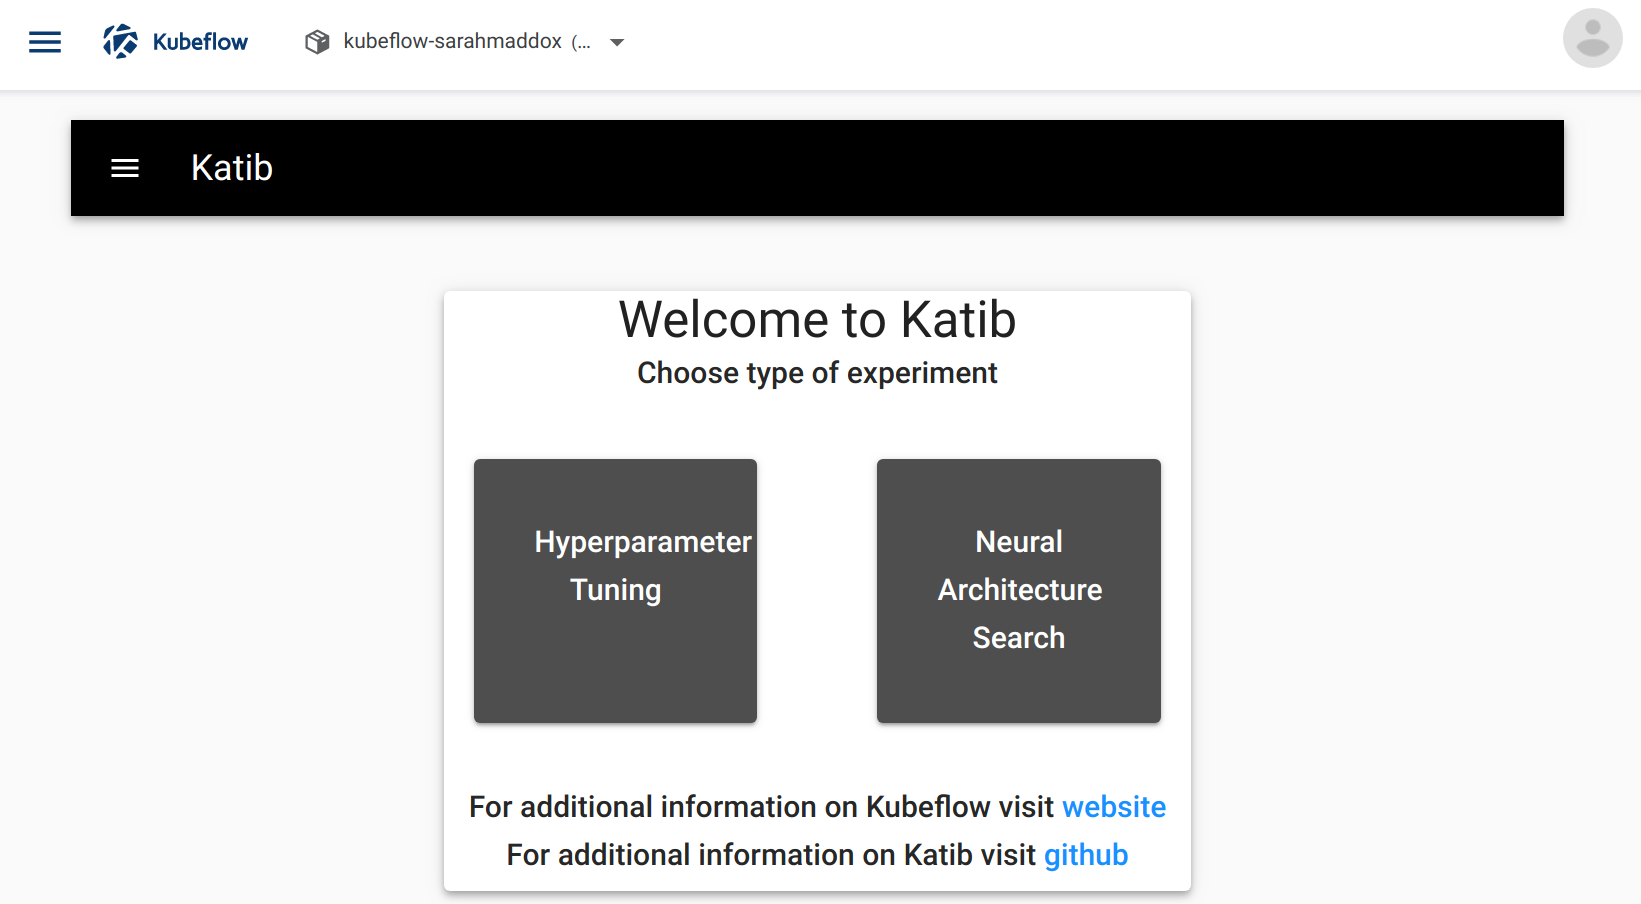
Accessing the Katib UI
You can use the Katib user interface (UI) to submit experiments and to monitor your results. The Katib home page within Kubeflow looks like this:
If you installed Katib as part of Kubeflow, you can access the Katib UI from the Kubeflow UI:
- Open the Kubeflow UI. See the guide to accessing the central dashboard.
- Click Katib in the left-hand menu.
Alternatively, you can set port-forwarding for the Katib UI service:
kubectl port-forward svc/katib-ui -n kubeflow 8080:80
Then you can access the Katib UI at this URL:
http://localhost:8080/katib/
Examples
This section introduces some examples that you can run to try Katib.
Example using random algorithm
You can create an experiment for Katib by defining the experiment in a YAML configuration file. The YAML file defines the configurations for the experiment, including the hyperparameter feasible space, optimization parameter, optimization goal, suggestion algorithm, and so on.
This example uses the YAML file for the random algorithm example.
The random algorithm example uses an MXNet neural network to train an image classification model using the MNIST dataset. You can check training container source code here. The experiment runs three training jobs with various hyperparameters and saves the results.
Run the following commands to launch an experiment using the random algorithm example:
-
Download the example:
curl https://raw.githubusercontent.com/kubeflow/katib/master/examples/v1alpha3/random-example.yaml --output random-example.yaml -
Edit
random-example.yamland change the following line to use your Kubeflow user profile namespace:Namespace: kubeflow -
Deploy the example:
kubectl apply -f random-example.yaml
This example embeds the hyperparameters as arguments. You can embed
hyperparameters in another way (for example, using environment variables)
by using the template defined in the TrialTemplate.GoTemplate.RawTemplate
section of the YAML file. The template uses the
Go template format.
This example randomly generates the following hyperparameters:
--lr: Learning rate. Type: double.--num-layers: Number of layers in the neural network. Type: integer.--optimizer: Optimizer. Type: categorical.
Check the experiment status:
kubectl -n <your user profile namespace> describe experiment random-example
The output of the above command should look similar to this:
Name:         random-example
Namespace:    <your user namespace>
Labels:       controller-tools.k8s.io=1.0
Annotations:  <none>
API Version:  kubeflow.org/v1alpha3
Kind:         Experiment
Metadata:
  Creation Timestamp:  2019-12-22T22:53:25Z
  Finalizers:
    update-prometheus-metrics
  Generation:        2
  Resource Version:  720692
  Self Link:         /apis/kubeflow.org/v1alpha3/namespaces/kubeflow/experiments/random-example
  UID:               dc6bc15a-250d-11ea-8cae-42010a80010f
Spec:
  Algorithm:
    Algorithm Name:        random
    Algorithm Settings:    <nil>
  Max Failed Trial Count:  3
  Max Trial Count:         12
  Metrics Collector Spec:
    Collector:
      Kind:  StdOut
  Objective:
    Additional Metric Names:
      accuracy
    Goal:                   0.99
    Objective Metric Name:  Validation-accuracy
    Type:                   maximize
  Parallel Trial Count:     3
  Parameters:
    Feasible Space:
      Max:           0.03
      Min:           0.01
    Name:            --lr
    Parameter Type:  double
    Feasible Space:
      Max:           5
      Min:           2
    Name:            --num-layers
    Parameter Type:  int
    Feasible Space:
      List:
        sgd
        adam
        ftrl
    Name:            --optimizer
    Parameter Type:  categorical
  Trial Template:
    Go Template:
      Raw Template:  apiVersion: batch/v1
kind: Job
metadata:
  name: {{.Trial}}
  namespace: {{.NameSpace}}
spec:
  template:
    spec:
      containers:
      - name: {{.Trial}}
        image: docker.io/kubeflowkatib/mxnet-mnist-example
        command:
        - "python"
        - "/mxnet/example/image-classification/train_mnist.py"
        - "--batch-size=64"
        {{- with .HyperParameters}}
        {{- range .}}
        - "{{.Name}}={{.Value}}"
        {{- end}}
        {{- end}}
      restartPolicy: Never
Status:
  Conditions:
    Last Transition Time:  2019-12-22T22:53:25Z
    Last Update Time:      2019-12-22T22:53:25Z
    Message:               Experiment is created
    Reason:                ExperimentCreated
    Status:                True
    Type:                  Created
    Last Transition Time:  2019-12-22T22:55:10Z
    Last Update Time:      2019-12-22T22:55:10Z
    Message:               Experiment is running
    Reason:                ExperimentRunning
    Status:                True
    Type:                  Running
  Current Optimal Trial:
    Observation:
      Metrics:
        Name:   Validation-accuracy
        Value:  0.981091
    Parameter Assignments:
      Name:          --lr
      Value:         0.025139701133432946
      Name:          --num-layers
      Value:         4
      Name:          --optimizer
      Value:         sgd
  Start Time:        2019-12-22T22:53:25Z
  Trials:            12
  Trials Running:    2
  Trials Succeeded:  10
Events:              <none>
When the last value in Status.Conditions.Type is Succeeded, the experiment
is complete.
View the results of the experiment in the Katib UI:
-
Open the Katib UI as described above.
-
Click Hyperparameter Tuning on the Katib home page.
-
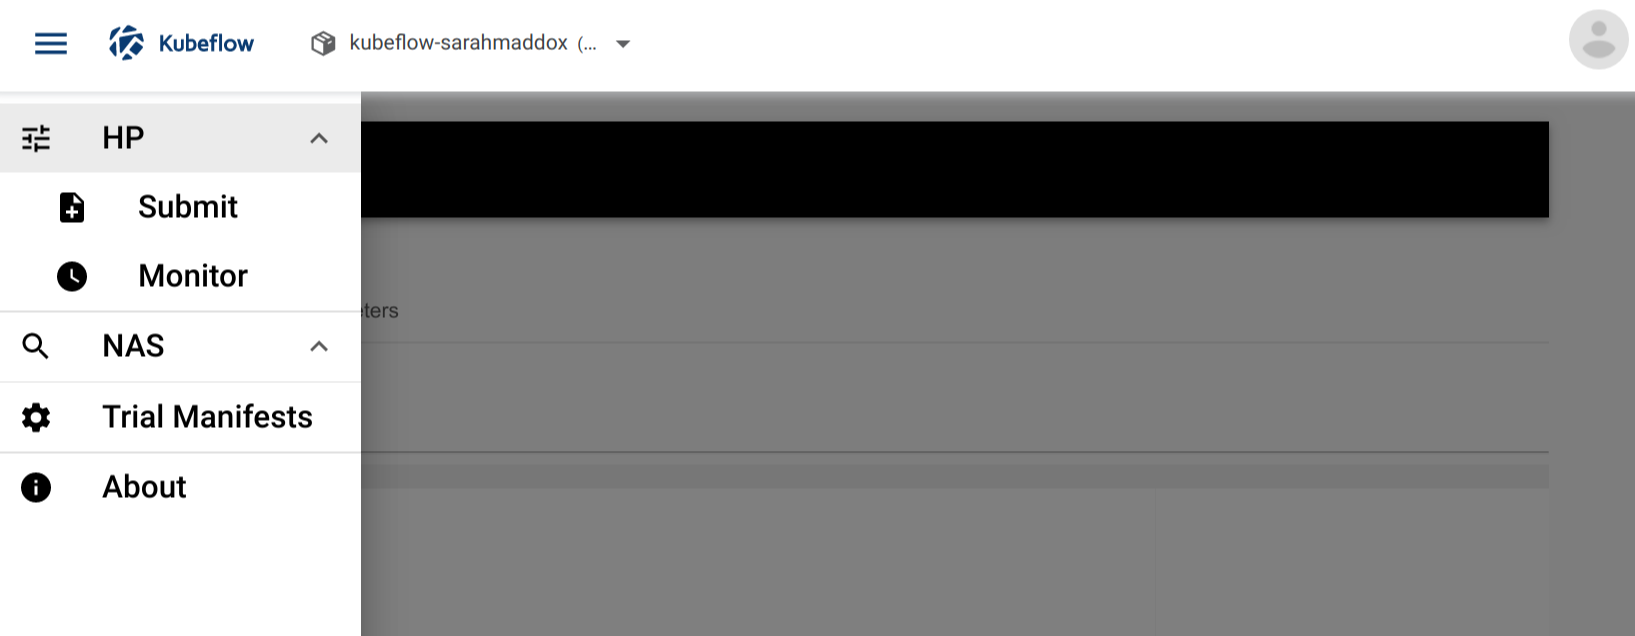
Open the Katib menu panel on the left, then open the HP section and click Monitor:
-
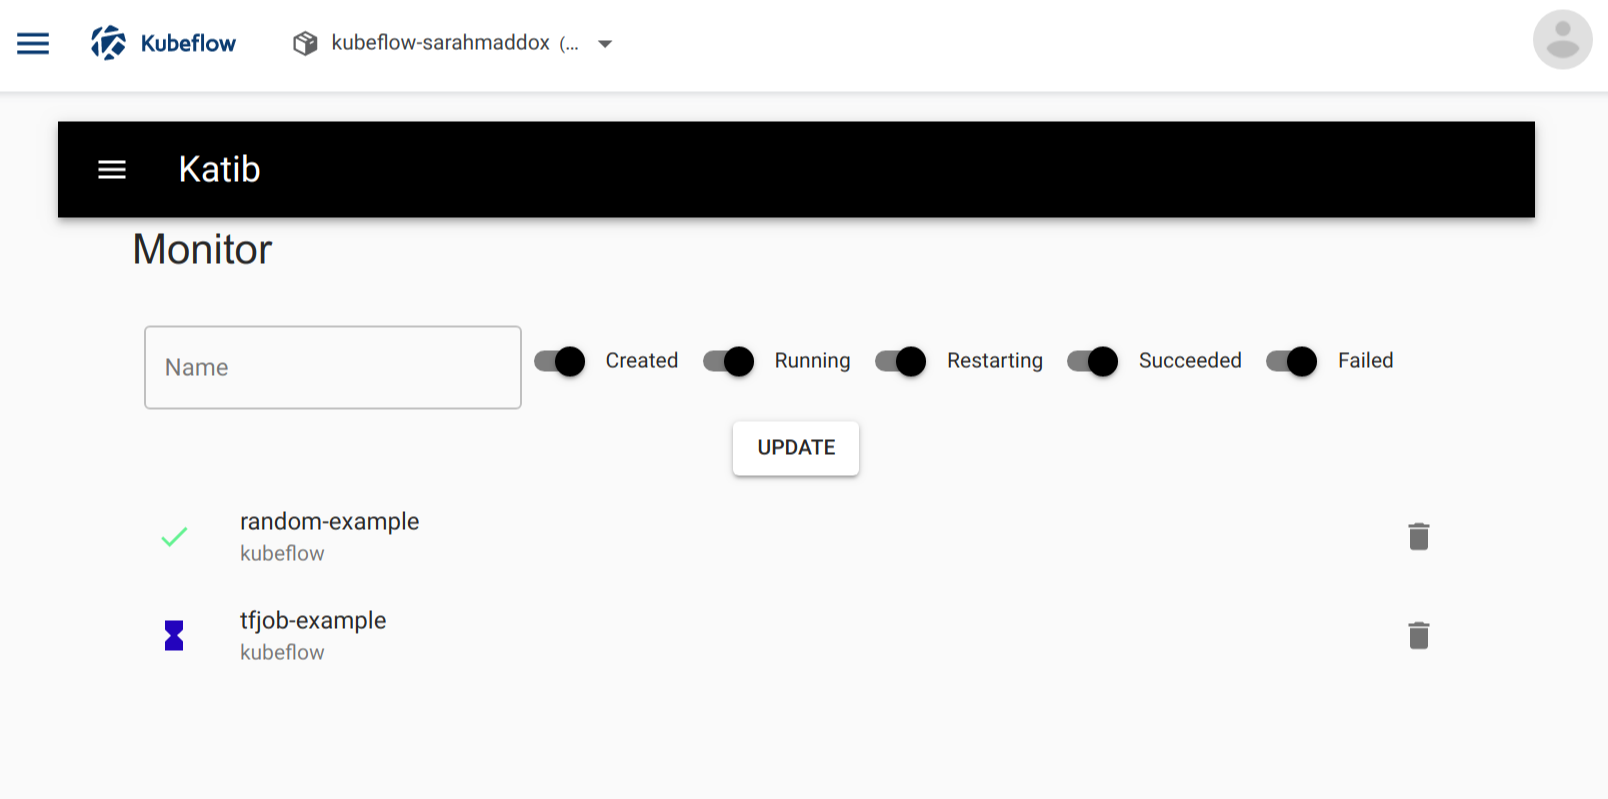
Click on the right-hand panel to close the menu panel. You should see the list of experiments:
-
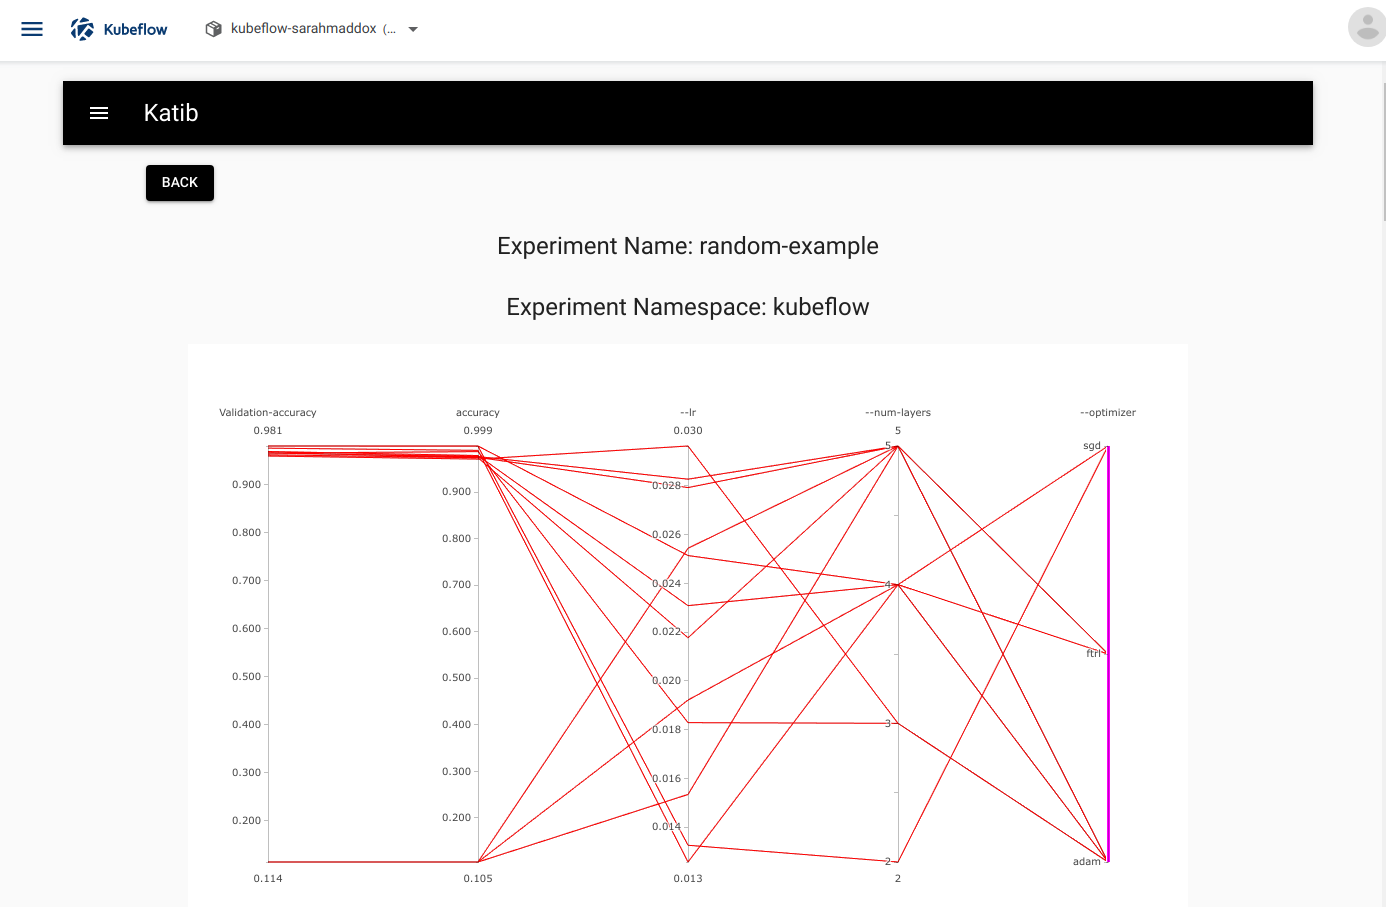
Click the name of the experiment, random-example.
-
You should see a graph showing the level of accuracy for various combinations of the hyperparameter values (learning rate, number of layers, and optimizer):
-
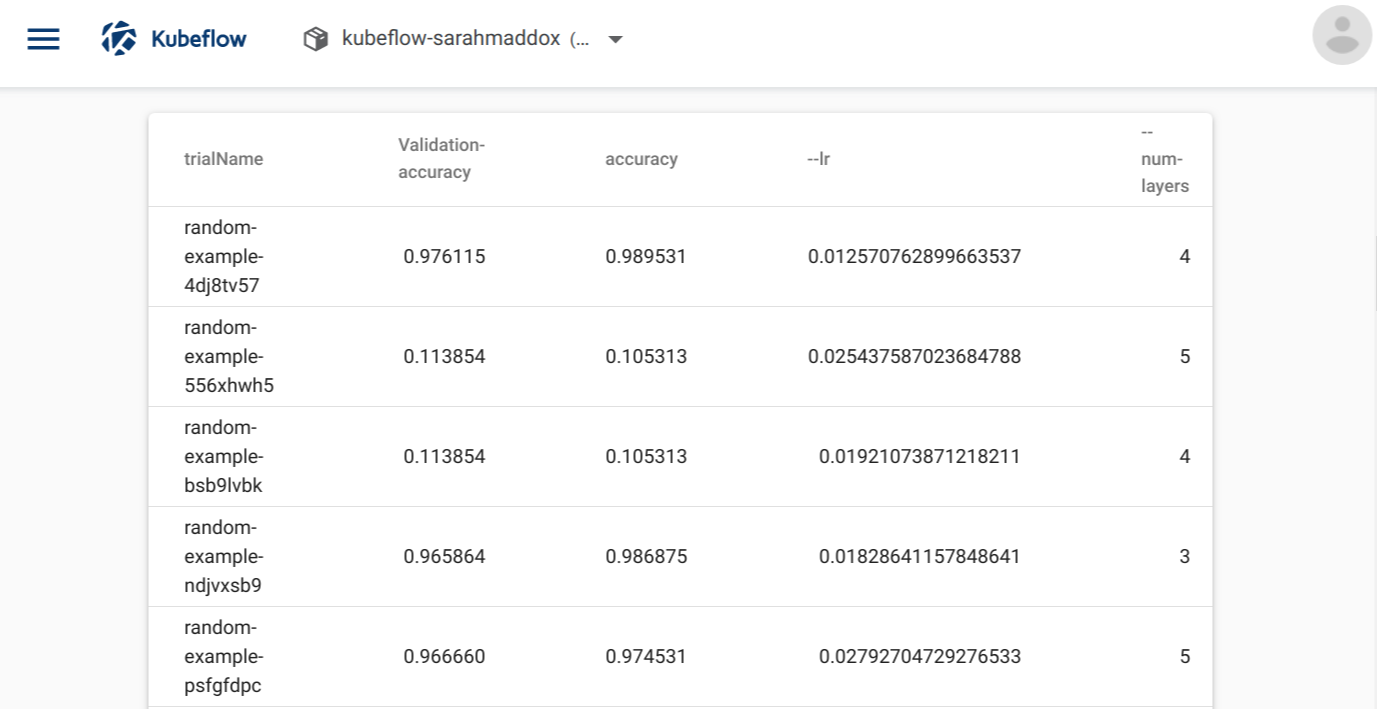
Below the graph is a list of trials that ran within the experiment:
TensorFlow example
Run the following commands to launch an experiment using the Kubeflow’s TensorFlow training job operator, TFJob:
-
Download the tfjob-example.yaml file
curl https://raw.githubusercontent.com/kubeflow/katib/master/examples/v1alpha3/tfjob-example.yaml --output tfjob-example.yaml -
Edit
tfjob-example.yamland change the following line to use your Kubeflow user profile namespace:Namespace: kubeflow -
Deploy the example:
kubectl apply -f tfjob-example.yaml -
You can check the status of the experiment:
kubectl -n <your user profile namespace> describe experiment tfjob-example
Follow the steps as described for the random algorithm example above, to see the results of the experiment in the Katib UI.
PyTorch example
Run the following commands to launch an experiment using Kubeflow’s PyTorch training job operator, PyTorchJob:
-
Download the pytorchjob-example.yaml file
curl https://raw.githubusercontent.com/kubeflow/katib/master/examples/v1alpha3/pytorchjob-example.yaml --output pytorchjob-example.yaml -
Edit
pytorchjob-example.yamland change the following line to use your Kubeflow user profile namespace:Namespace: kubeflow -
Deploy the example:
kubectl apply -f pytorchjob-example.yaml -
You can check the status of the experiment:
kubectl -n <your user profile namespace> describe experiment pytorchjob-example
Follow the steps as described for the random algorithm example above, to see the results of the experiment in the Katib UI.
Cleanup
Delete the installed components:
bash ./scripts/v1alpha3/undeploy.sh
Next steps
-
For details of how to configure and run your experiment, see the guide to running an experiment.
-
For a detailed instruction of the Katib Configuration file, read the Katib config page.
-
See how you can change installation of Katib component in the environment variables guide.
Feedback
Was this page helpful?
Glad to hear it! Please tell us how we can improve.
Sorry to hear that. Please tell us how we can improve.