Central Dashboard
Your Kubeflow deployment includes a central dashboard that provides quick access to the Kubeflow components deployed in your cluster. The dashboard includes the following features:
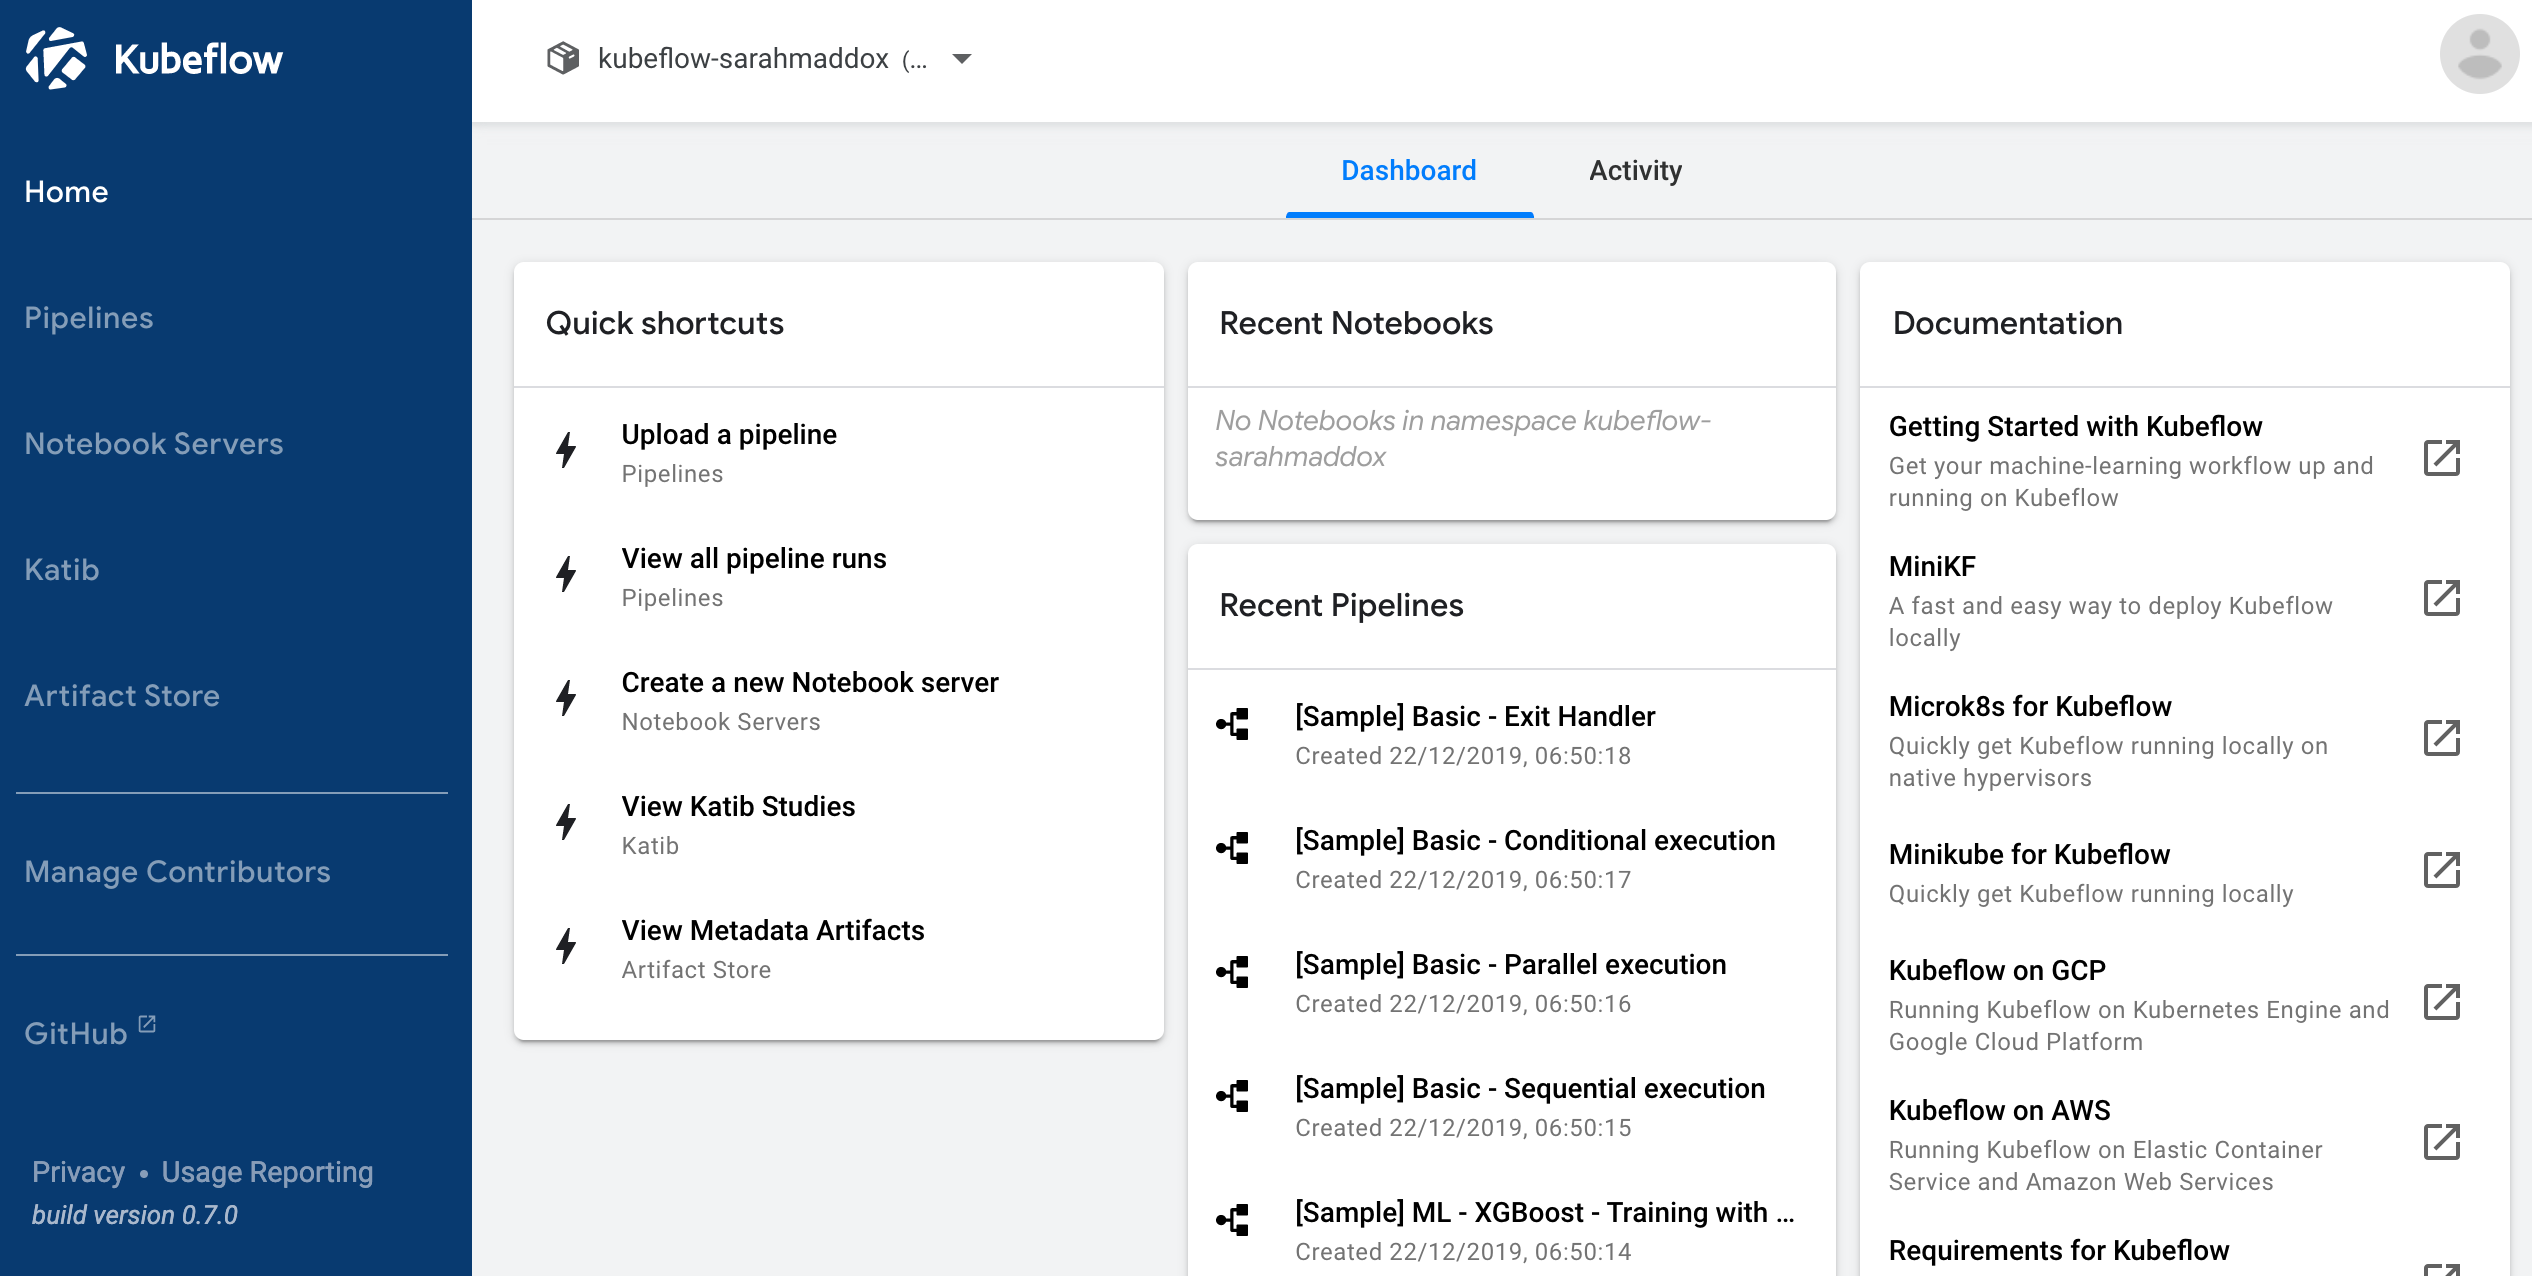
- Shortcuts to specific actions, a list of recent pipelines and notebooks, and metrics, giving you an overview of your jobs and cluster in one view.
- A housing for the UIs of the components running in the cluster, including Pipelines, Katib, Notebooks, and more.
- A registration flow that prompts new users to set up their namespace if necessary.
Overview of Kubeflow UIs
The Kubeflow UIs include the following:
- Home, a central dashboard for navigation between the Kubeflow components.
- Pipelines for a Kubeflow Pipelines dashboard.
- Notebook Servers for Jupyter notebooks.
- Katib for hyperparameter tuning.
- Artifact Store for tracking of artifact metadata.
- Manage Contributors for sharing user access across namespaces in the Kubeflow deployment.
The central dashboard looks like this:
Accessing the central dashboard
To access the central dashboard, you need to connect to the Istio gateway that provides access to the Kubeflow service mesh.
How you access the Istio gateway varies depending on how you’ve configured it.
URL pattern with Google Cloud Platform (GCP)
If you followed the guide to deploying Kubeflow on GCP, the Kubeflow central UI is accessible at a URL of the following pattern:
https://<application-name>.endpoints.<project-id>.cloud.goog/
The URL brings up the dashboard illustrated above.
If you deploy Kubeflow with Cloud Identity-Aware Proxy (IAP), Kubeflow uses the Let’s Encrypt service to provide an SSL certificate for the Kubeflow UI. For troubleshooting issues with your certificate, see the guide to monitoring your Cloud IAP setup.
Using kubectl and port-forwarding
If you didn’t configure Kubeflow to integrate with an identity provider then you can port-forward directly to the Istio gateway.
Port-forwarding typically does not work if any of the following are true:
-
You’ve deployed Kubeflow on GCP using the GCP deployment UI or the default settings with the CLI deployment. (If you want to use port forwarding, you must deploy Kubeflow on an existing Kubernetes cluster using the
kfctl_k8s_istioconfiguration.) -
You’ve configured the Istio ingress to only accept HTTPS traffic on a specific domain or IP address.
-
You’ve configured the Istio ingress to perform an authorization check (for example, using Cloud IAP or Dex).
You can access Kubeflow via kubectl and port-forwarding as follows:
-
Install
kubectlif you haven’t already done so:- If you’re using Kubeflow on GCP, run the following command on the command
line:
gcloud components install kubectl. - Alternatively, follow the
kubectlinstallation guide.
- If you’re using Kubeflow on GCP, run the following command on the command
line:
-
Use the following command to set up port forwarding to the Istio gateway.
export NAMESPACE=istio-system kubectl port-forward -n ${NAMESPACE} svc/istio-ingressgateway 8080:80 -
Access the central navigation dashboard at:
http://localhost:8080/Depending on how you’ve configured Kubeflow, not all UIs work behind port-forwarding to the reverse proxy.
For some web applications, you need to configure the base URL on which the app is serving.
For example, if you deployed Kubeflow with an ingress serving at
https://example.mydomain.comand configured an application to be served at the URLhttps://example.mydomain.com/myapp, then the app may not work when served onhttps://localhost:8080/myappbecause the paths do not match.
Next steps
- Explore the contributor management option where you can set up a single namespace for a shared deployment or configure multi-tenancy for your Kubeflow deployment.
- Set up your Jupyter notebooks in Kubeflow.
Feedback
Was this page helpful?
Glad to hear it! Please tell us how we can improve.
Sorry to hear that. Please tell us how we can improve.