Authentication using OIDC
This section shows the how to setup Kubeflow with authentication and authorization support through OIDC in Amazon Web Services (AWS). Similar to Cognito tutorial.
Enable TLS and Authentication
Right now, certificates for ALB public DNS names are not supported. Instead, you must prepare a custom domain. You can register your domain in Route53 or any domain provider such as GoDaddy.com.
AWS Certificate Manager is a service that lets you easily provision, manage, and deploy public and private Secure Sockets Layer/Transport Layer Security (SSL/TLS) certificates for use with AWS services and your internal connected resources.
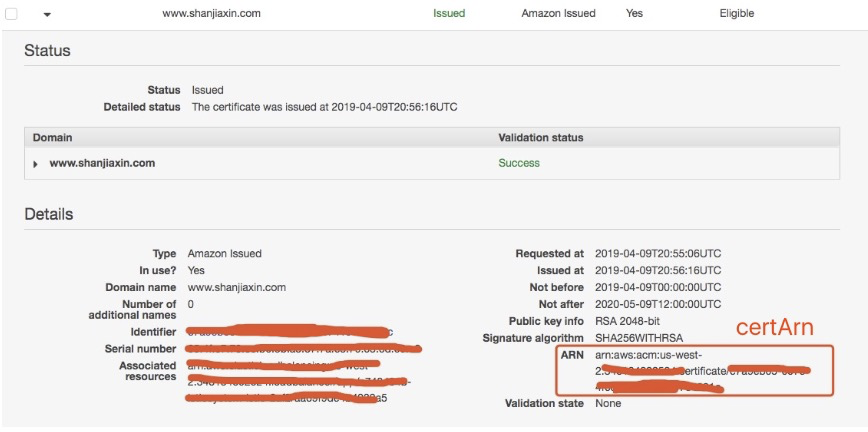
To get TLS support from the ALB Ingress Controller, you need to follow this tutorial to request a certificate in AWS Certificate Manager. After successful validation, you will get a certificate ARN to use with the ALB Ingress Controller.
Note: Even you need to create a
certificate ARN, we don’t necessarily need a custom domain unless you want to use it, you can still use ALB ingress hostname to visit kubeflow central dashboard.
OIDC allows clients to verify the identity of the End-User based on the authentication performed by an Authorization Server. OIDC allows clients of all types, including Web-based, mobile, and JavaScript clients, to request and receive information about authenticated sessions and end-users. You can use any OIDC compatible solutions including Google, Facebook and Github for authentication. For this tutorial, we take Github Login as an example.
In order to authenticate and manage users for Kubeflow, let’s first connect Auth0 app to Github. You can follow instructions here or follow below detailed steps:
1. Register Your New App on Auth0
You should go to the Auth0 page to sign up and login at first.
Then you can look at below page and modify the domain name Under TENANT DOMAIN to be your preferable domain name and take notes.
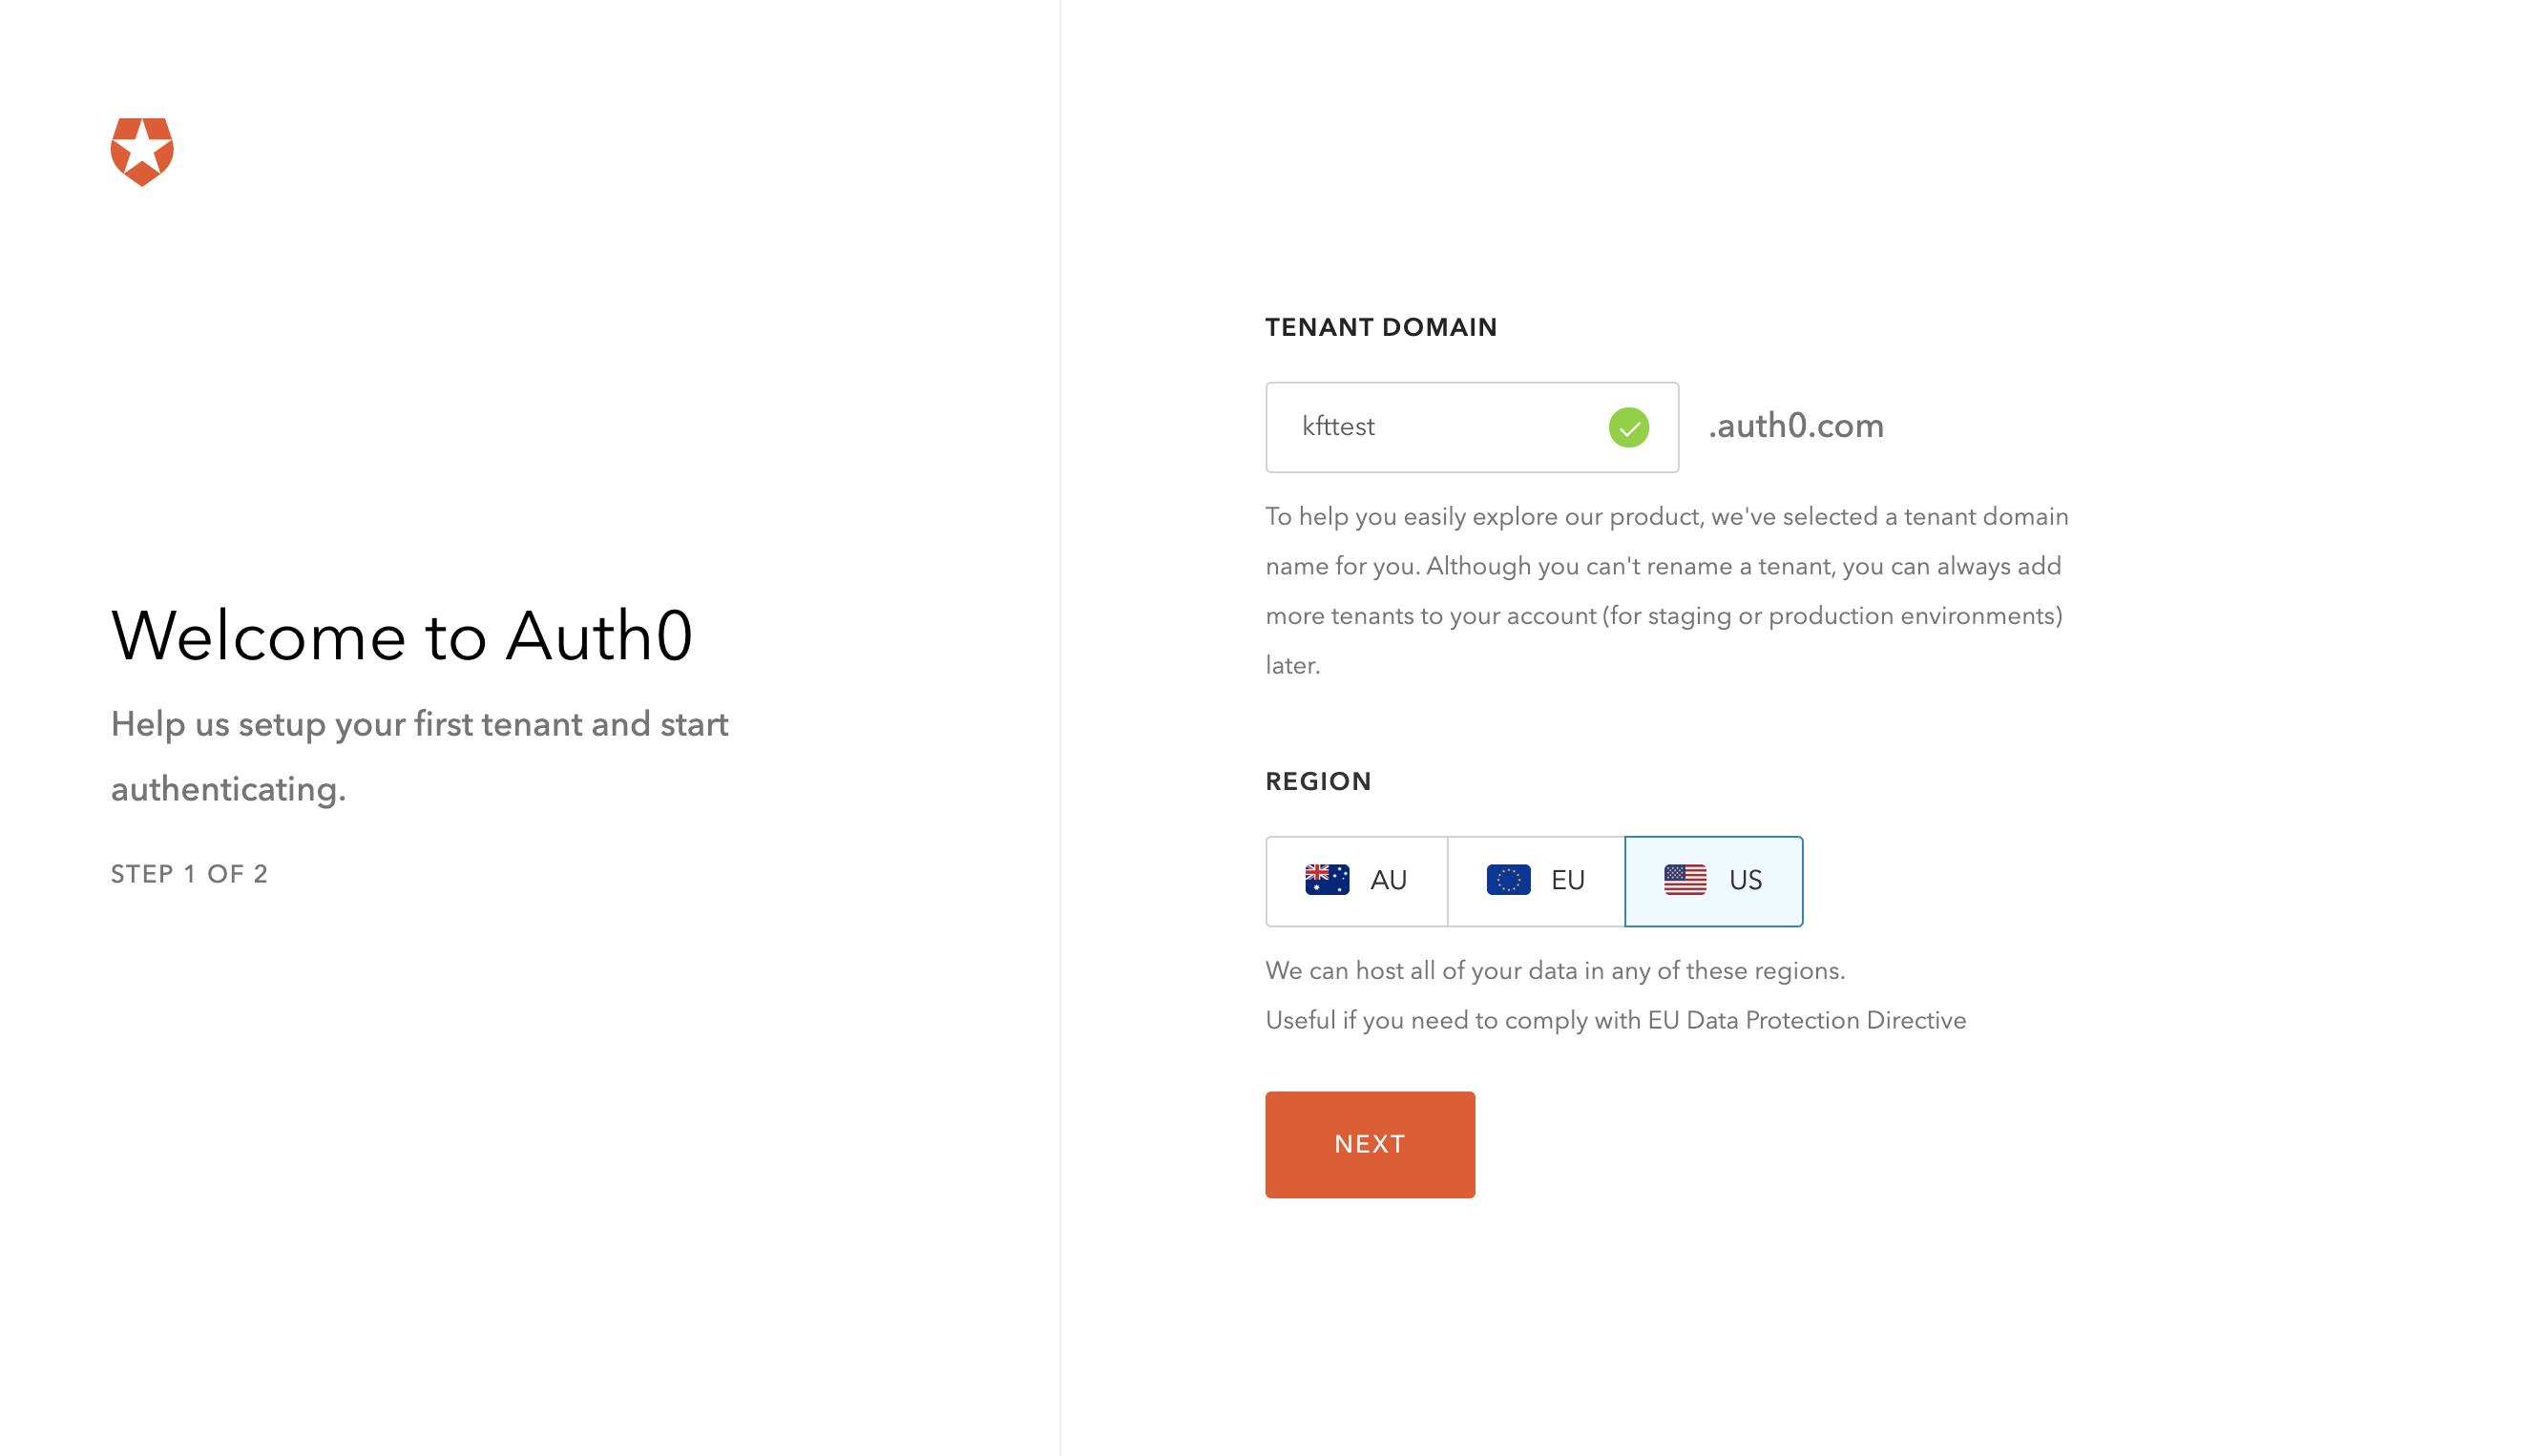
After modification, click NEXT button. Then you can set up your personal information there and click CREATE ACCOUNT button.
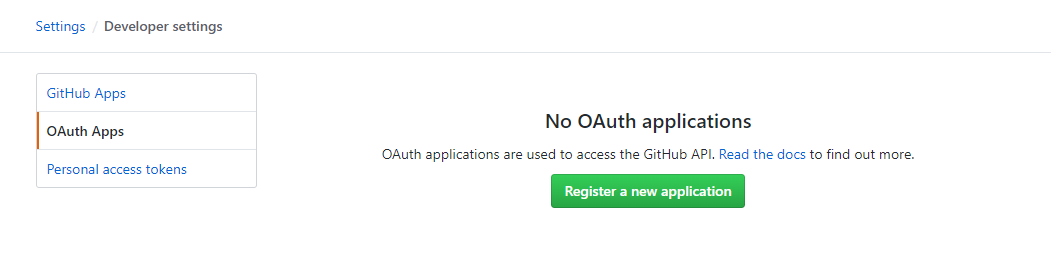
2. Add a new Application in Github
To add a new application, log in to GitHub and go to OAuth Apps in your developer settings. Next click Register a new application.
3. Register Your New App on Github
On the Register a new application page fill out the form with the following information. Modify the parameters to reflect your application.
In step 1, you registered new app on Auth0 and there’s a TENANT DOMAIN. Now it is your Github Homepage URL with prefix of https://. For example, if your Auth0 tenant domain was kftest.auth0.com, your Github Homepage URL would be https://kftest.auth0.com and your redirect URL would be https://kftest.auth0.com/login/callback.
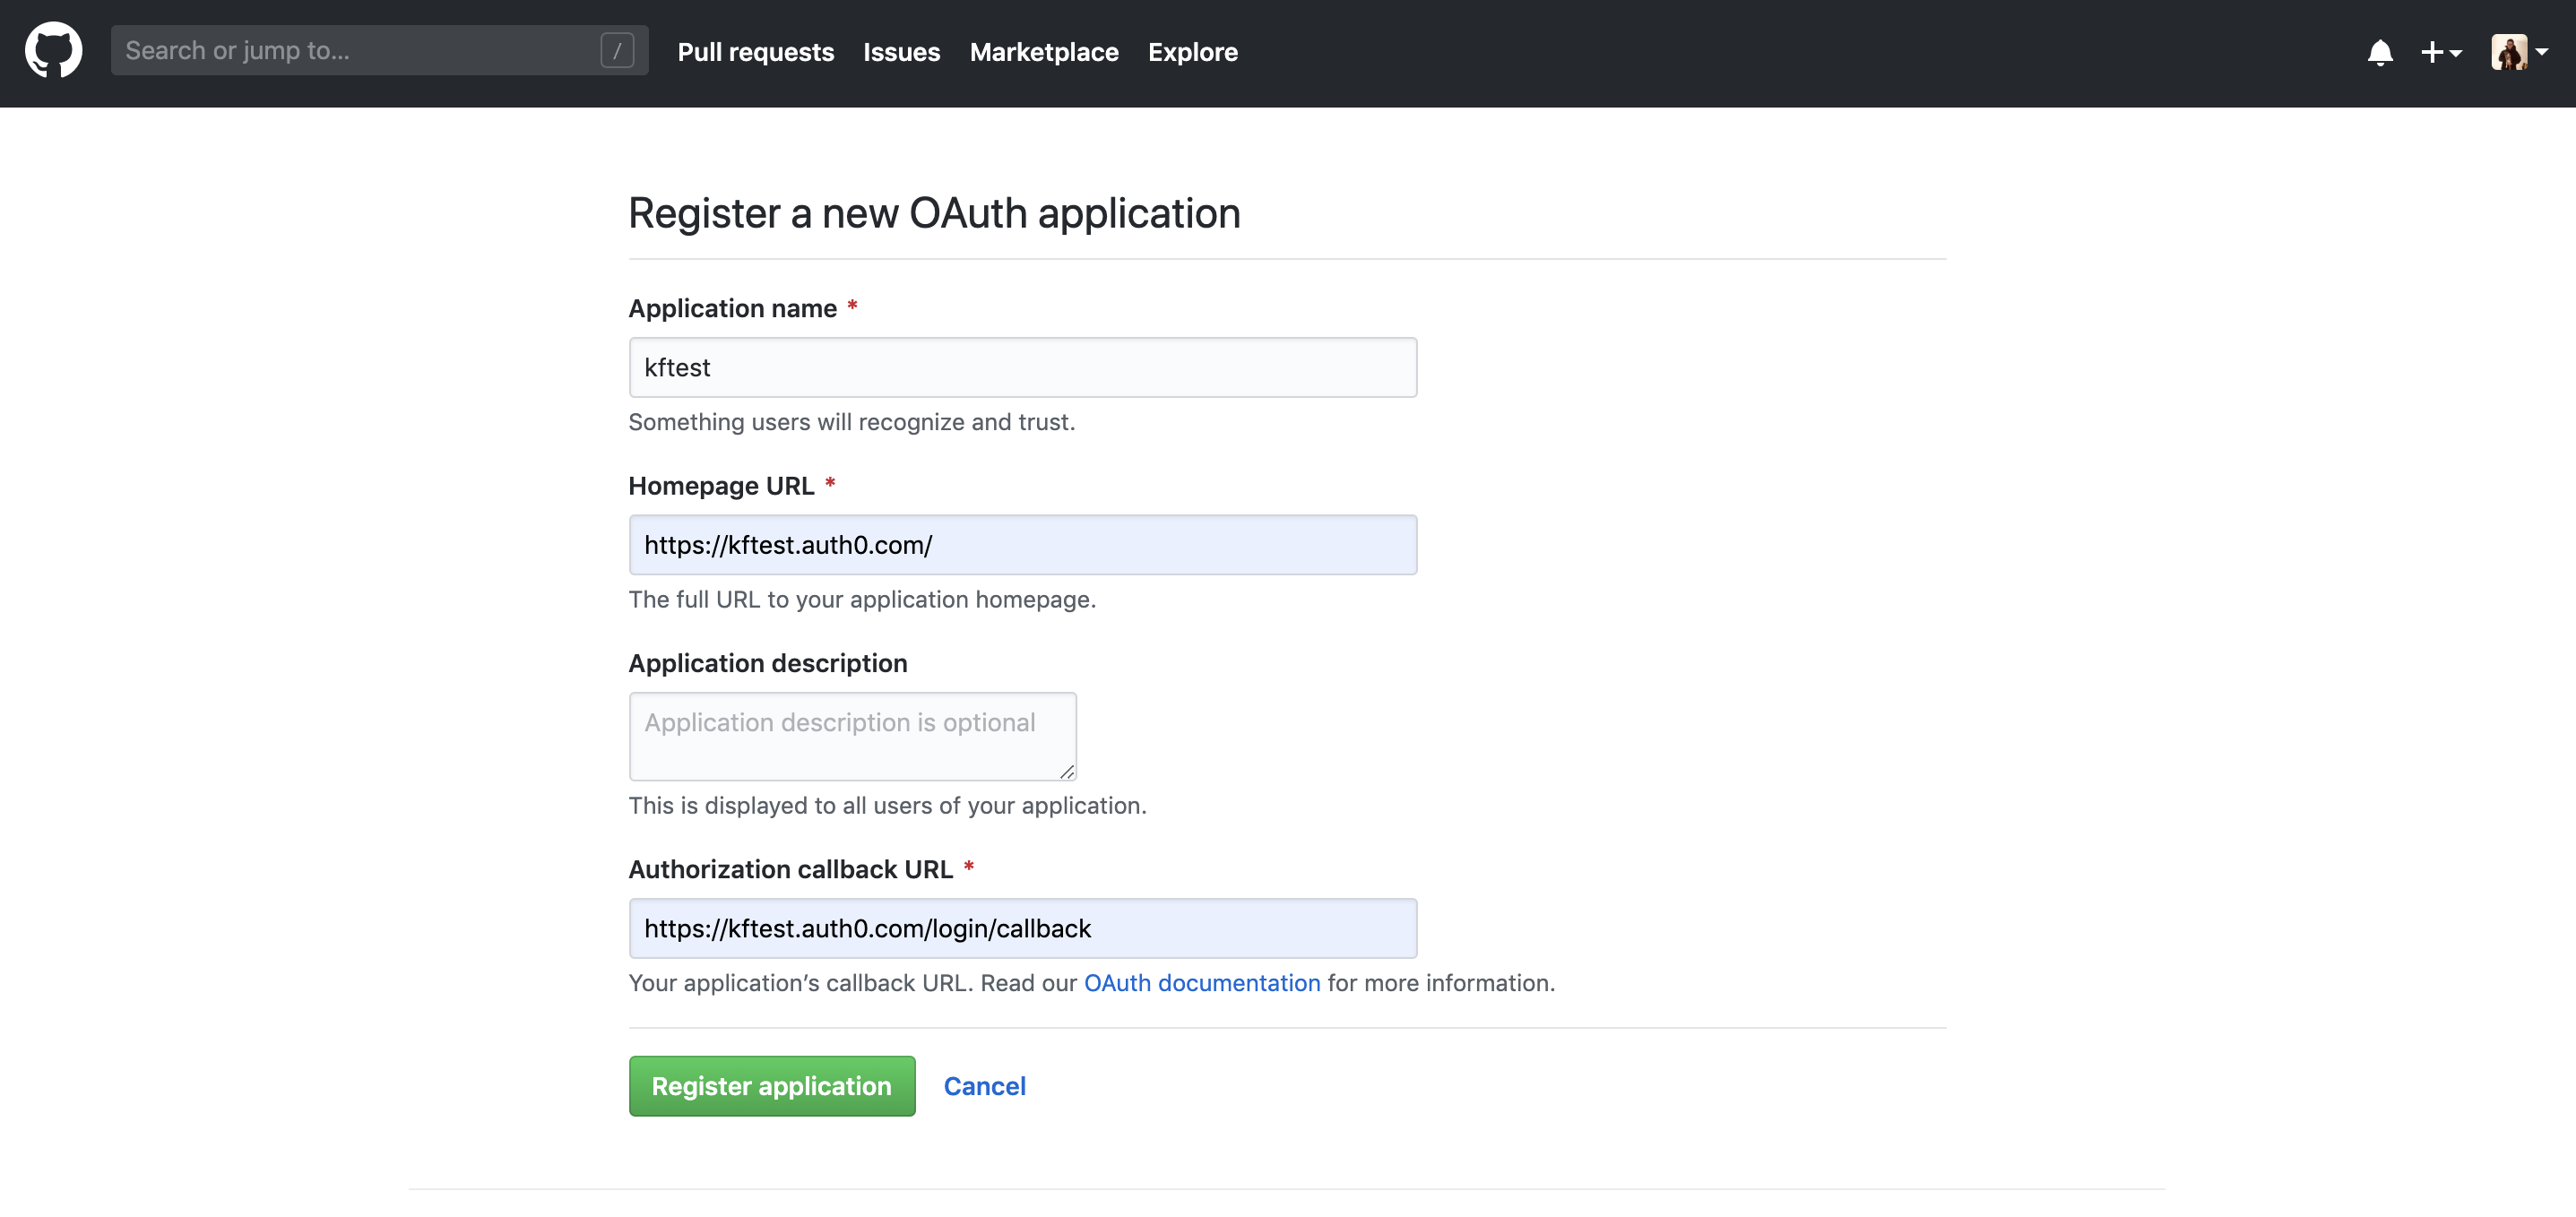
After completing the form click Register application to proceed.
4. Configure Github and Auth0 app
Once the application is registered, your app’s Client ID and Client Secret will be displayed on the following page:
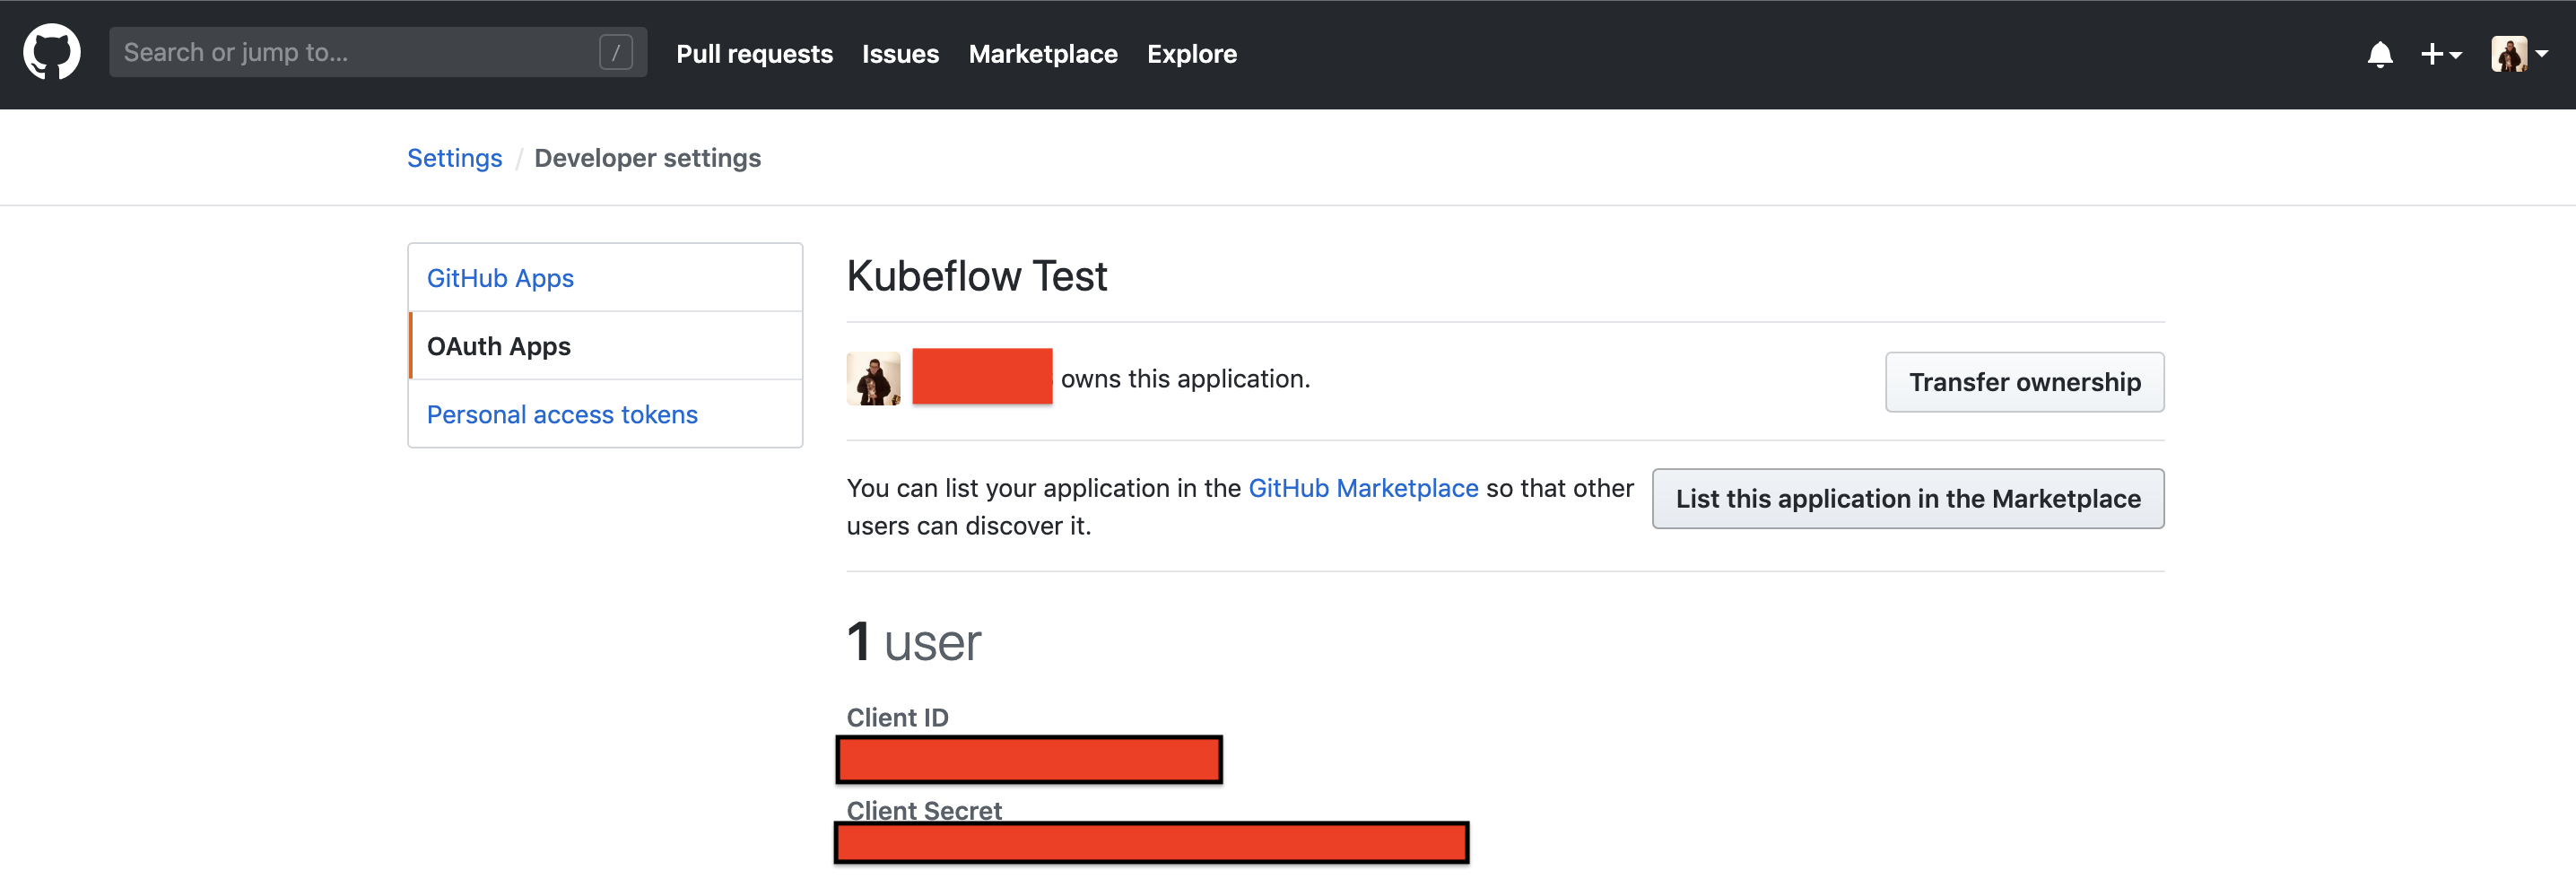
Go to your Auth0 Dashboard, after log into Auth0 Dashboard, select Connections > Social, then choose Github. Copy the Client ID and Client Secret from the Developer Applications of your app on Github into the fields on this page on Auth0.
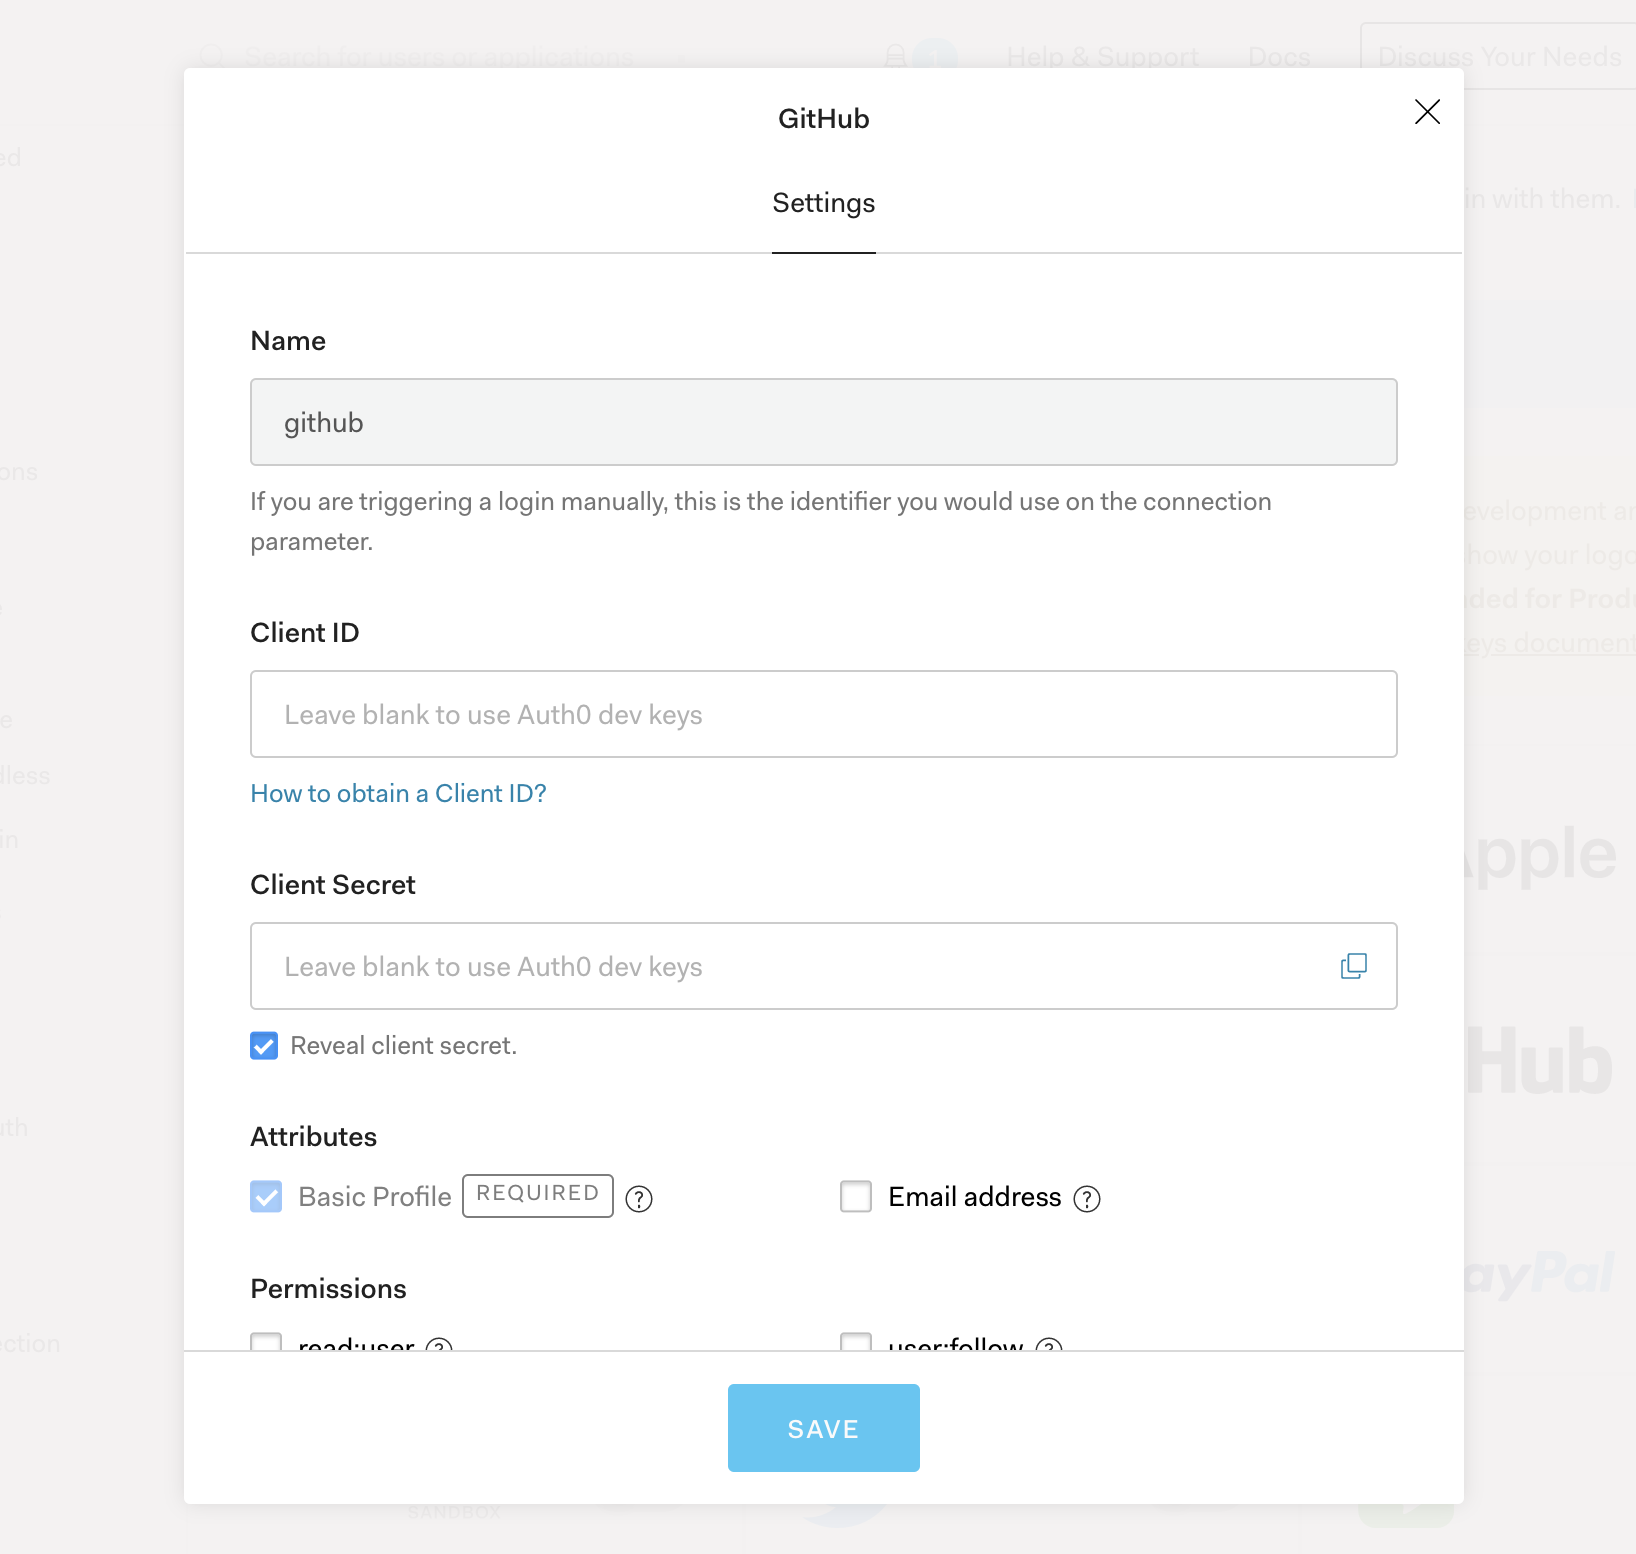
Then click SAVE button and go to the Auth0 Dashboard, take a note about the Client ID and Client Secret, which are found on your Auth0 application.

5. Deploy Kubeflow
Download kfctl_aws_cognito.v1.0.2.yaml. Before you kfctl apply -V -f kfctl_aws_cognito.v1.0.2.yaml, please update spec and repos fields in your Kubeflow configuration file at kfctl_aws_cognito.v1.0.2.yaml, so that it looks like this:
plugins:
- kind: KfAwsPlugin
  metadata:
    name: aws
  spec:
    auth:
      oidc:
        certArn: arn:aws:acm:us-west-2:########:certificate/#######-#####-###-#
        oAuthClientId: Your Auth0 App Client Id
        oAuthClientSecret: Your Auth0 App Client Secret
        oidcAuthorizationEndpoint: https://kftest.auth0.com/authorize
        oidcIssuer: https://kftest.auth0.com/
        oidcTokenEndpoint: https://kftest.auth0.com/oauth/token
        oidcUserInfoEndpoint: https://kftest.auth0.com/userinfo
      region: us-west-2
      enablePodIamPolicy: true
  repos:
  - name: manifests
    uri: https://github.com/kubeflow/manifests/archive/v1.0-branch.tar.gz
After you finish the TLS and Authentication configuration, then you can run kfctl apply -V -f kfctl_aws_cognito.v1.0.2.yaml.
After a while, your ALB will be ready, you can get ALB hostname by running follow command.
kubectl get ingress istio-ingress -n istio-system
NAME            HOSTS   ADDRESS                                                                 PORTS   AGE
istio-ingress   *       322ac077-istiosystem-istio-2af2-786120677.us-west-2.elb.amazonaws.com   80      56s
On Auth0 dashboard, click Applications on the left navigation bar, modify your ALB Hostname with prefix https:// and postfix /oauth2/idpresponse in Allowed Callback URLs as below image:

Succeed example
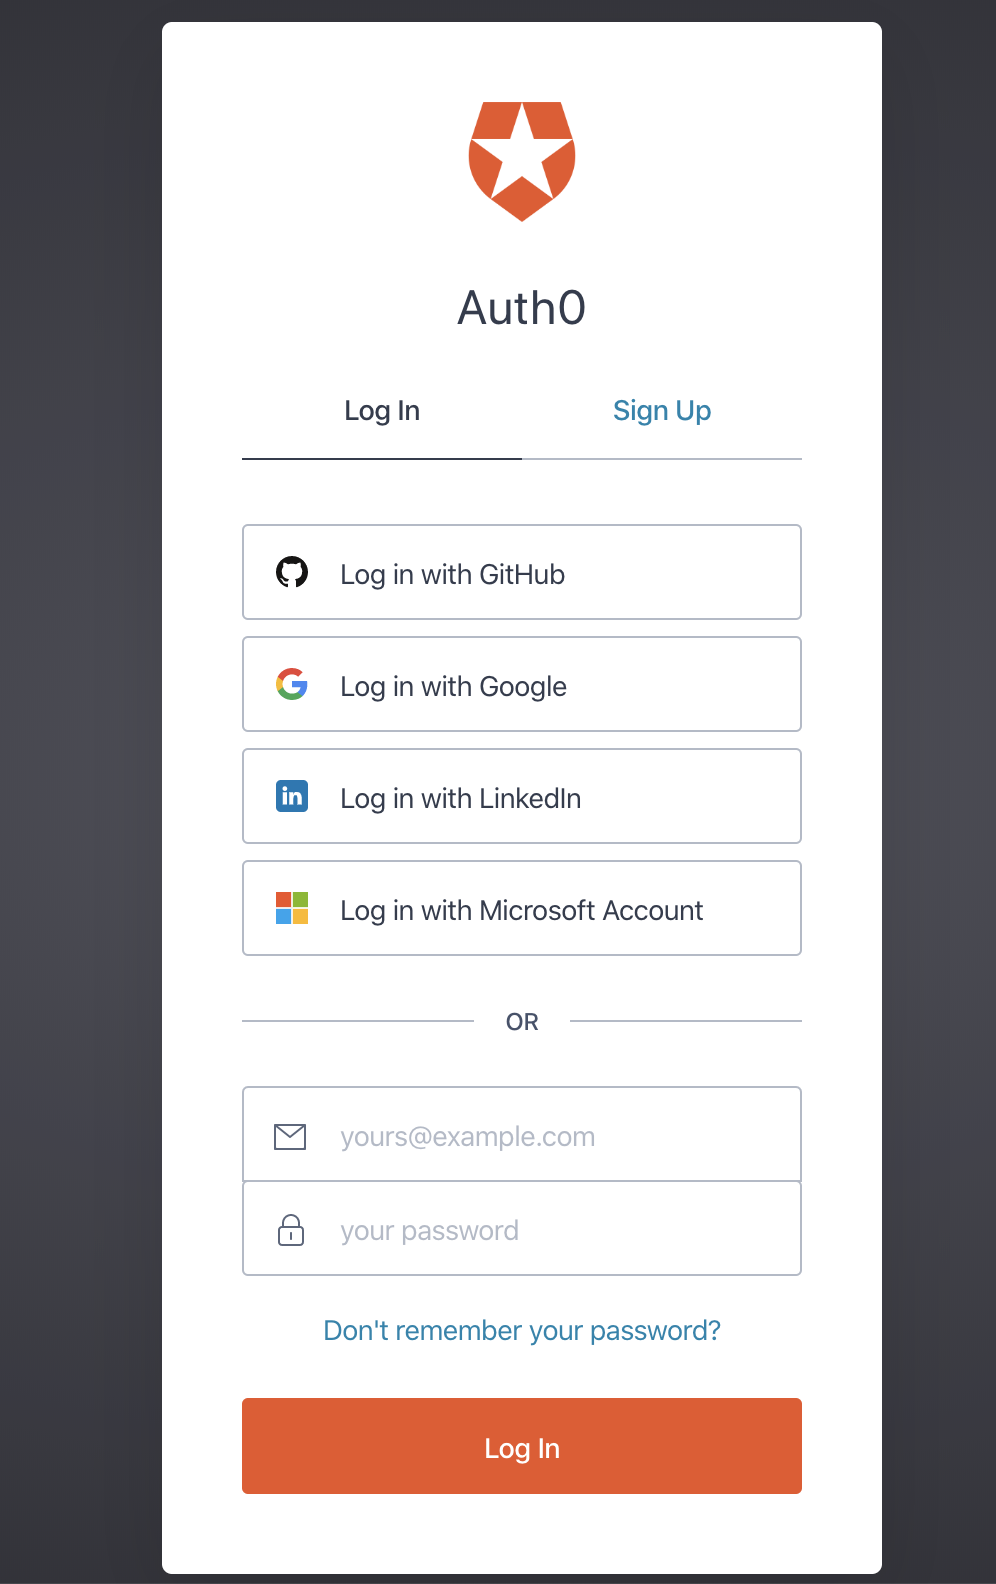
After you set up above steps, navigate the application from https://Your ALB HostName and you’ll see a webpage like below:
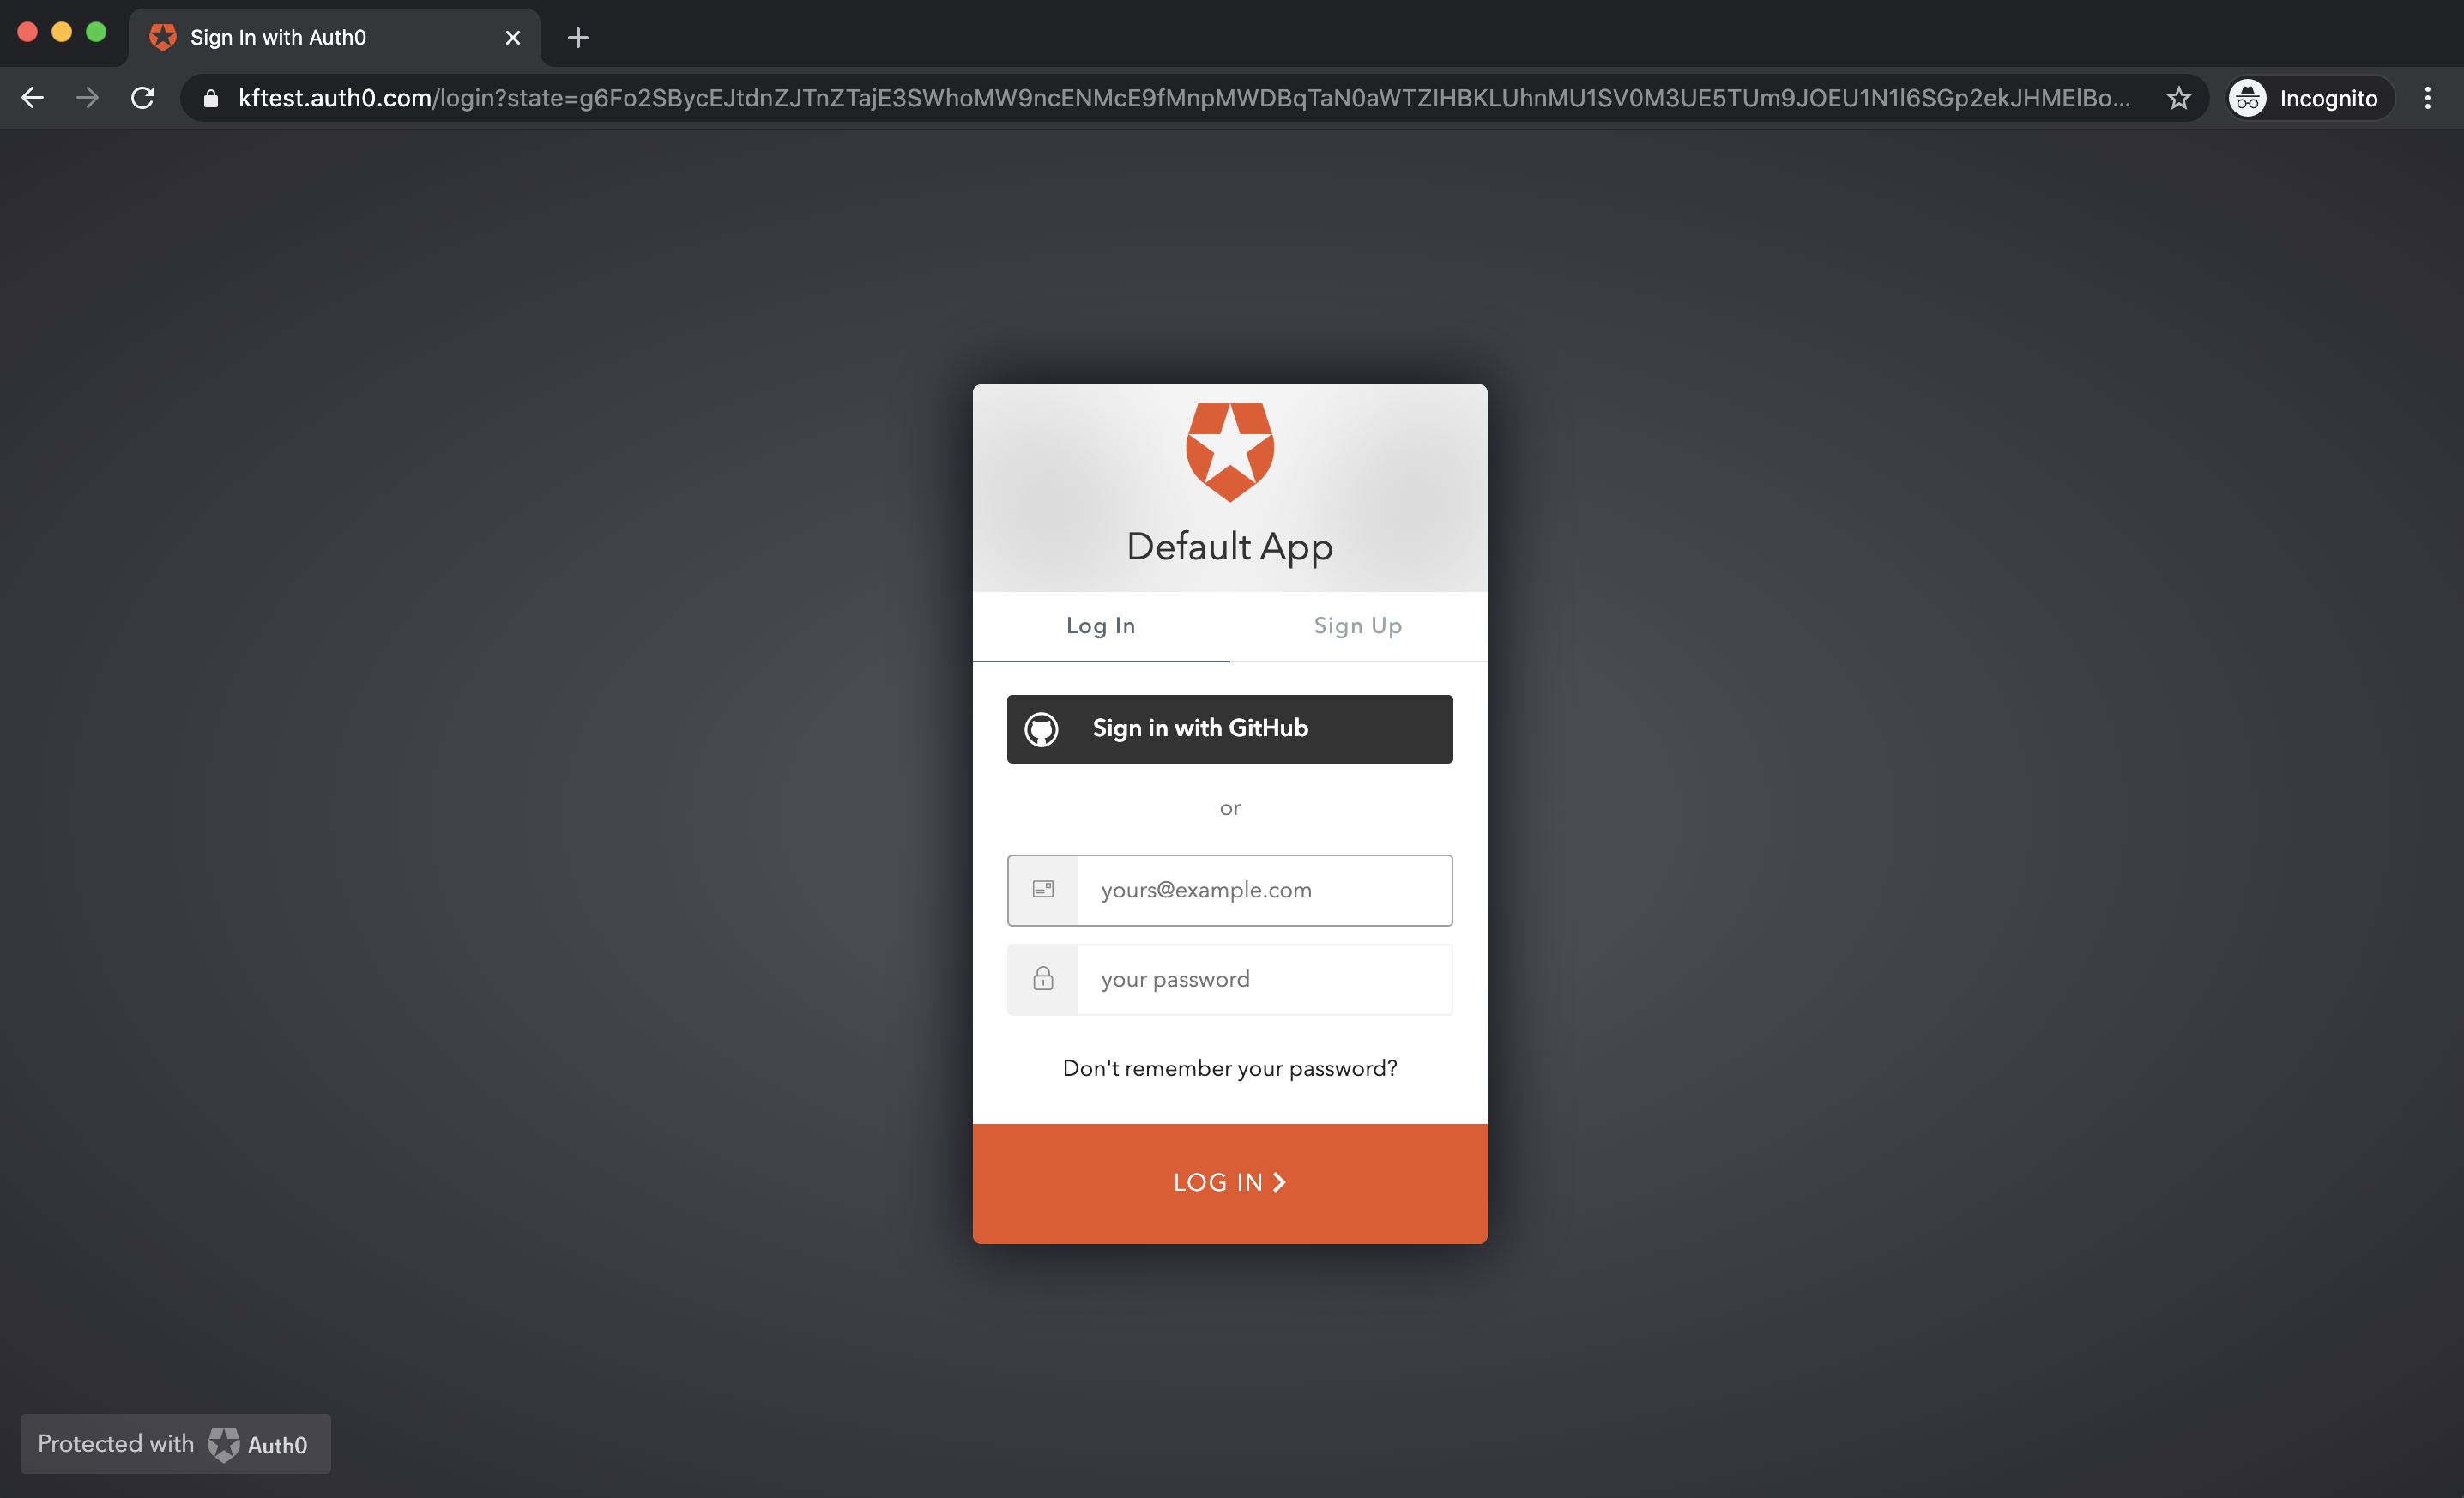
After you login with Github, you should succeed in seeing a kubeflow dashboard webpage.
Trouble shooting
If you can not see alb come up, the first thing you can do is check logs.
# Get pod name
kubectl get pods -l  app.kubernetes.io/name=aws-alb-ingress-controller -n kubeflow

# Check logs
kubectl logs -f alb-ingress-controller-xxxx-xxxx -n kubeflow
If you want to make same changes to your setting, you don’t have to delete and install kubeflow. Instead, you can run follow command to exam the configuration and make the changes.
Kubernetes ingress with all ALB settings
$ kubectl get ingress istio-ingress -n istio-system -o yaml

apiVersion: extensions/v1beta1
kind: Ingress
metadata:
  annotations:
    alb.ingress.kubernetes.io/auth-idp-oidc: '{"Issuer":" https://kftest.auth0.com","AuthorizationEndpoint":"https://kftest.auth0.com/authorize","TokenEndpoint":"https://kftest.auth0.com/oauth/token","UserInfoEndpoint":"https://kftest.auth0.com/userinfo","SecretName":"alb-oidc-secret"}'
    alb.ingress.kubernetes.io/auth-scope: email openid profile
    alb.ingress.kubernetes.io/auth-type: oidc
    alb.ingress.kubernetes.io/certificate-arn: arn:aws:acm:us-west-2:########:certificate/#######-#####-###-#
    alb.ingress.kubernetes.io/listen-ports: '[{"HTTPS":443}]'
    alb.ingress.kubernetes.io/scheme: internet-facing
Kubernetes secret of OIDC clientId and clientSecret. This is generated by kfctl automatically from your oAuthClientId and oAuthClientSecret in KfAwsPlugin.
$ kubectl get secret alb-oidc-secret -n istio-system -o yaml

apiVersion: v1
data:
  clientId: alZYN#################aclpjeEU=
  clientSecret: cG1OeEM#################################yMzdvMjdENTNfMnRDWg==
Feedback
Was this page helpful?
Glad to hear it! Please tell us how we can improve.
Sorry to hear that. Please tell us how we can improve.